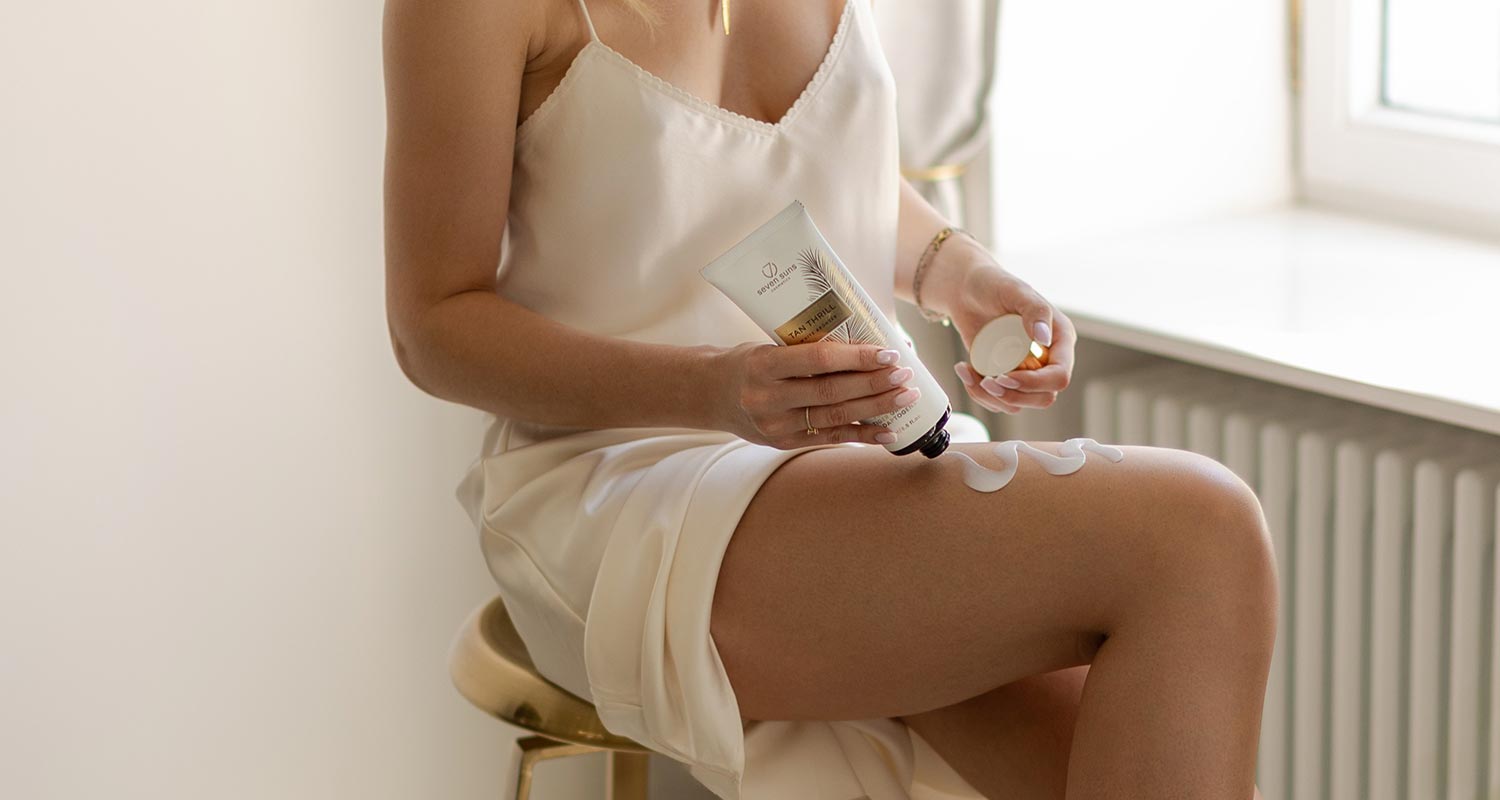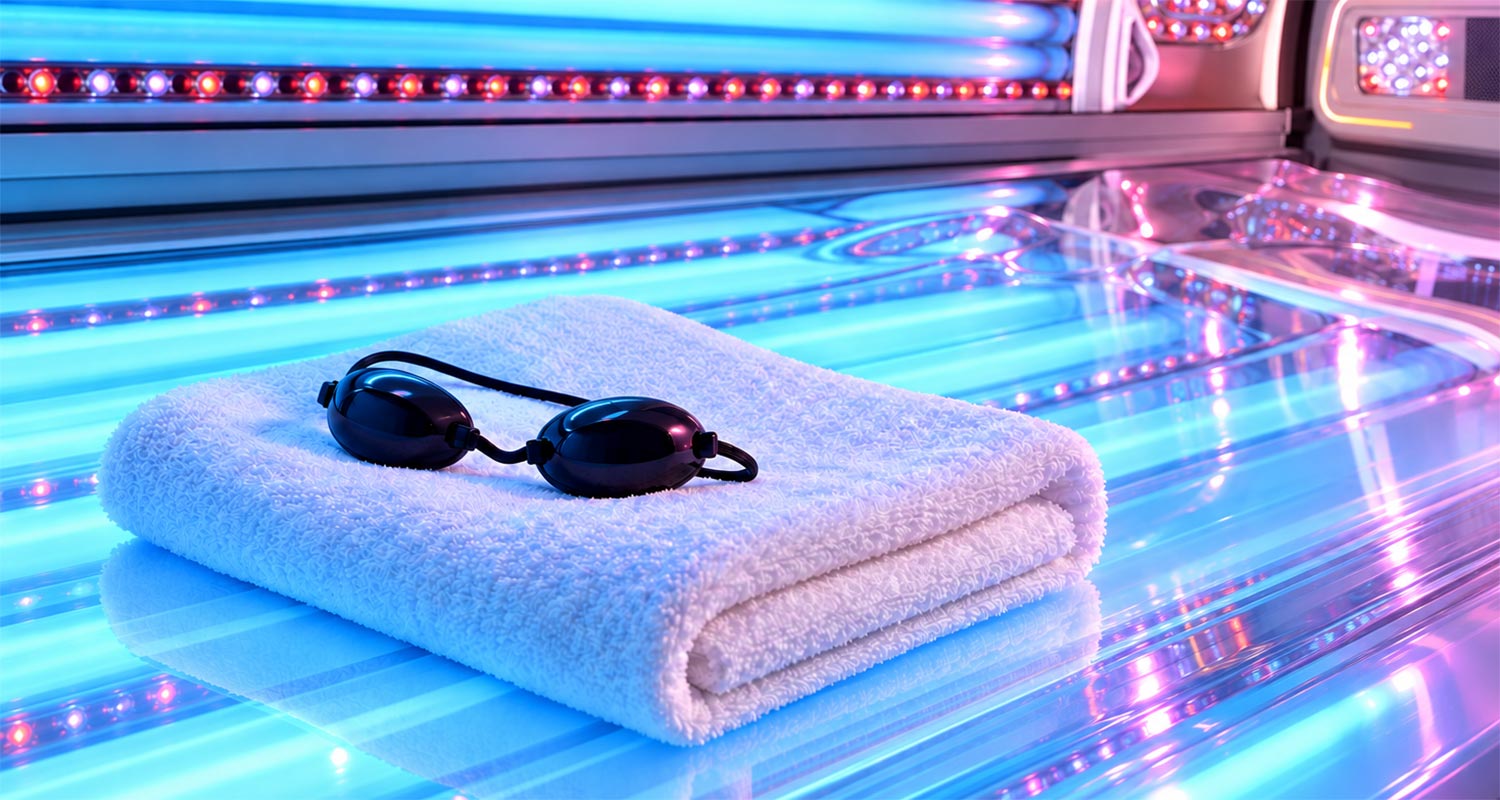
You do not need to know the equipment models or decide the timing by yourself. Tell staff about your skin, expectations and previous experiences. This makes it easier to put together a personal tanning plan and choose a cosmetic whose purpose you understand.
Step 1. Tell staff this is your first visit
Tell salon staff if you are using a sunbed for the first time or returning after a break. Check together whether there are any reasons to avoid tanning. Your current skin condition, previous UV reactions, medicines or photosensitising products and medical advice all matter.
Staff may request proof of age if they are unsure.
Step 2. Explain your goal and identify your phototype
Explain why you have come. Perhaps you want to gradually build colour before an event, enjoy some downtime or meet another personal goal. If you have a particular date in mind, tell the staff. They can then plan several sessions with appropriate intervals rather than rushing towards a result at the last minute.
If your visit follows a doctor’s or another specialist’s recommendation, share the precise advice you received. A commercial sunbed is not a substitute for medically supervised phototherapy.
Next, establish your skin phototype. This is based mainly on how easily the skin burns and how quickly it increases pigmentation. Phototype helps to start planning, but session duration must also reflect the particular equipment and your skin’s current response.
Step 3. Discuss preparing your skin
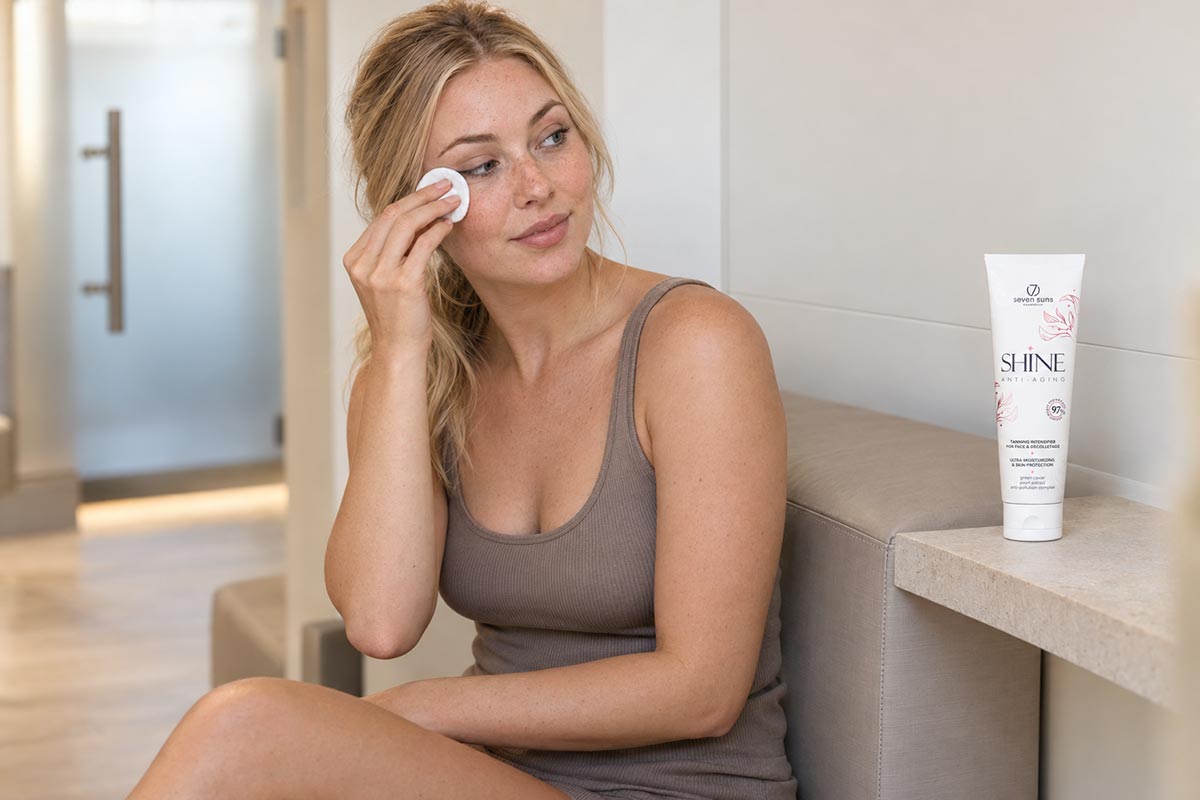
Arrive with clean, dry, non-irritated skin. Remove make-up, perfume and products not intended for sunbed use. Some everyday formulas may cause marks, uneven colour or phototoxic and photoallergic reactions under UV.
A suitable professional tanning cosmetic can support natural pigmentation or deliver a quicker visual effect with bronzers. Results depend on the product and individual skin response. Cosmetics do not change the duration recommended for the equipment.
Step 4. Choose the product, texture and effect
Professional tanning cosmetics support skin comfort and care, help prevent dryness and influence the appearance and longevity of a tan. Formulas intended for sunbeds absorb quickly, help maintain moisture and, depending on their type, support natural pigmentation (accelerators) or add cosmetic colour (bronzers).
For a first session, a lightweight, moisturising accelerator without a bronzer or a product with a subtle bronzing effect often works well. This makes it easier to observe the skin’s natural response without intense added colour. An instant bronzer suits someone seeking immediately visible colour and a more even-looking skin tone. A delayed bronzer suits someone who wants colour to continue developing after the session and knows how to apply it evenly. Tingle products are not intended for first-time users; they are best considered by experienced customers familiar with their effects and skin response.
A tanning salon cosmetic is not sun protection. It does not provide SPF protection against UV damage and does not justify a longer session.
Step 5. Listen to the equipment instructions
Before entering, listen to instructions on starting and stopping the equipment, ventilation, contacting staff and the recommended duration. Do not copy the number of minutes from another sunbed model or someone else’s plan.
Put on specialised protective eyewear. It is essential during every session: closing your eyes does not provide adequate protection. Reusable goggles supplied by the salon should be disinfected after every use. You may also bring your own suitable sunbed goggles.
Step 6. Apply your cosmetic to clean skin
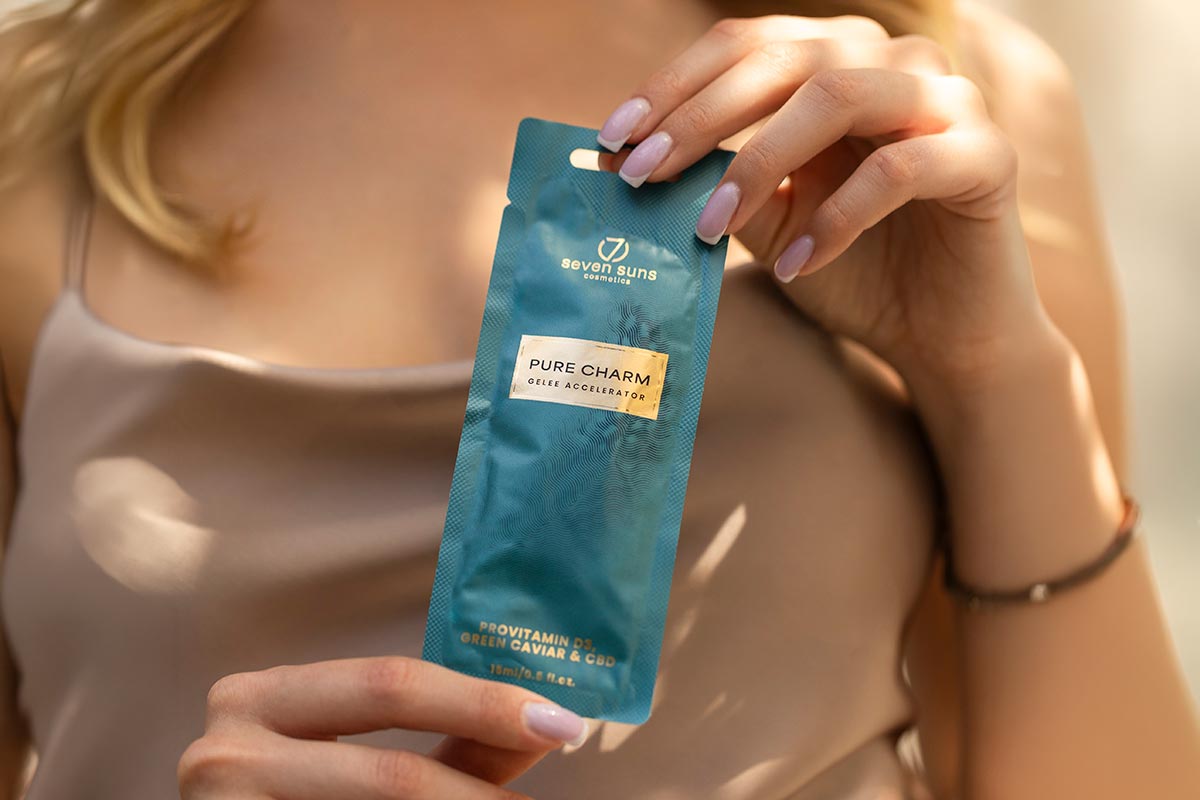
Immediately before the session, apply your chosen cosmetic to cleansed skin. Spread a thin, even layer over your body or the selected areas in accordance with the product’s intended use.
After using a bronzer, thoroughly clean your hands, between your fingers and around your nails to avoid uneven staining. Do not apply more than the manufacturer recommends.
Step 7. Enjoy the moment and watch your colour develop
Focus on your comfort during the session. If you experience burning, dizziness or any unusual sensation, stop the equipment and contact staff.
Afterwards, observe your skin and the development of your tan. Colour may continue to deepen over the next few hours, so do not judge the session by the immediate result. Moisturise and care for your skin, maintain hydration and allow recommended intervals between visits. A beautiful-looking tan is built gradually.
Seven steps to a personal plan
Your first visit is not about choosing the longest possible session. Its purpose is to understand your skin’s response and create a plan suited to your phototype, equipment, desired effect and preferred skincare. That knowledge helps you approach future sessions more thoughtfully.